Welcome to the lush world of Alocasia Odora, where beauty meets majesty in a botanical symphony that captivates the senses. If you’re seeking a plant that exudes elegance and presence, look no further than this remarkable specimen.
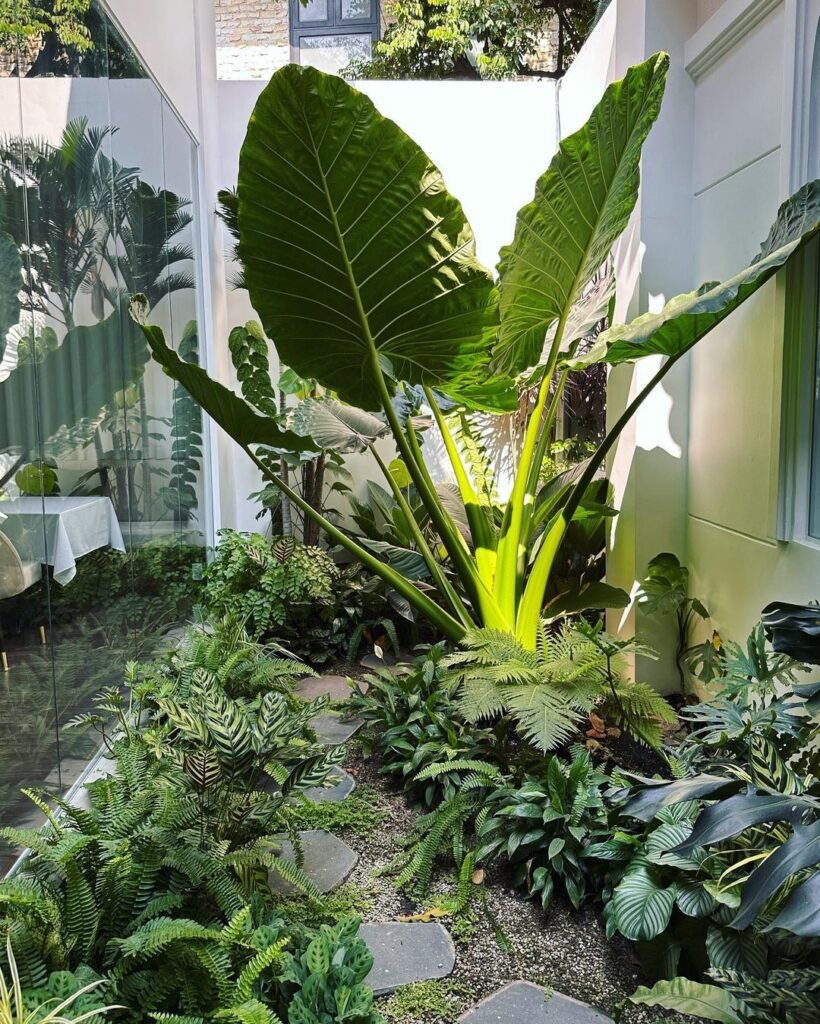
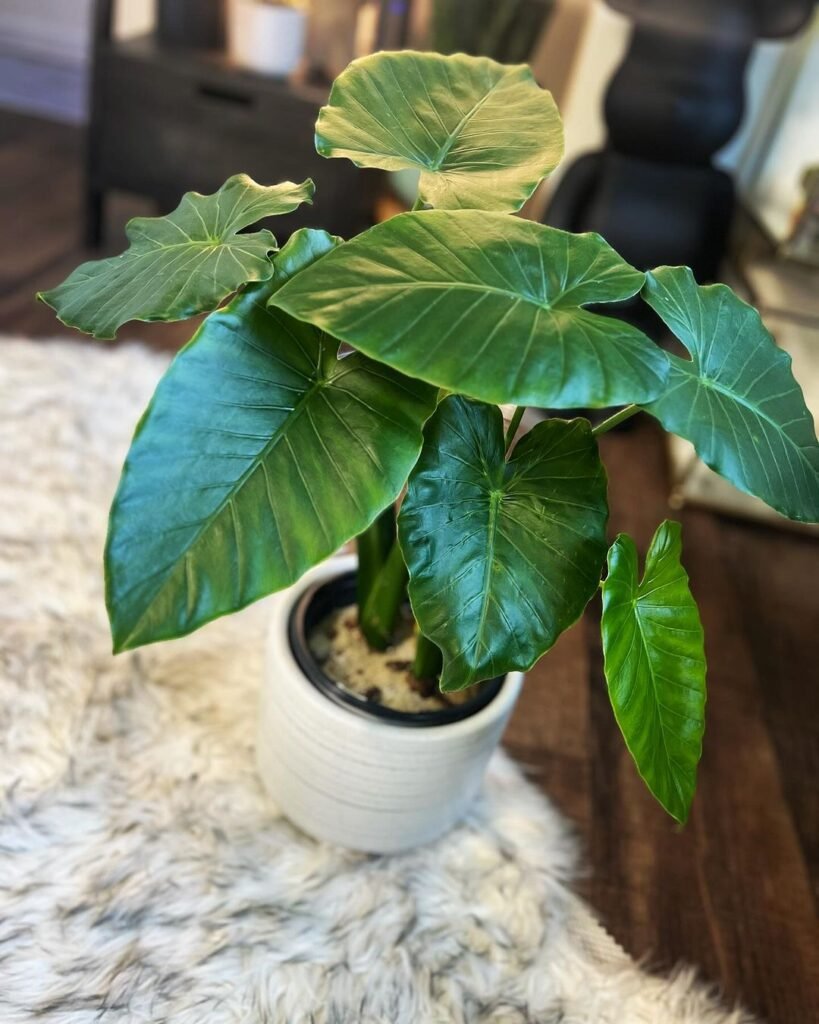
Alocasia Odora, commonly known as the Giant Taro or Elephant Ear, is renowned for its striking appearance and imposing stature. Originating from the rainforests of Southeast Asia, this plant boasts large, heart-shaped leaves with intricate veining that adds to its allure.
Imagine a foliage so vibrant and lush that it instantly transforms any space into a verdant oasis. The Alocasia Odora’s rich, deep green leaves make a bold statement, whether displayed as a solitary focal point or incorporated into a thriving indoor jungle.

Creating the Ideal Environment
As we embark on our journey to care for the Alocasia Odora, it’s essential to understand the importance of providing the perfect environment for this majestic plant to thrive.
Lighting plays a crucial role in the life of the Alocasia Odora. Native to the shaded understory of tropical forests, it thrives in bright, indirect light. Position your plant near a north or east-facing window where it can enjoy gentle, filtered sunlight without being exposed to harsh direct rays.
When it comes to temperature, mimic the balmy conditions of its natural habitat. Aim for temperatures between 65°F to 80°F (18°C to 27°C), ensuring it stays warm and cozy year-round. Avoid placing it near drafty windows or vents, which can cause stress to the plant.
Humidity is another key factor in Alocasia Odora’s care regimen. With its origins in humid rainforests, it craves moist air to thrive. Boost humidity levels by misting the leaves regularly or placing a tray of water filled with pebbles beneath the plant’s pot. You can also invest in a humidifier to create an optimal environment for your Alocasia Odora.
Watering Wisely
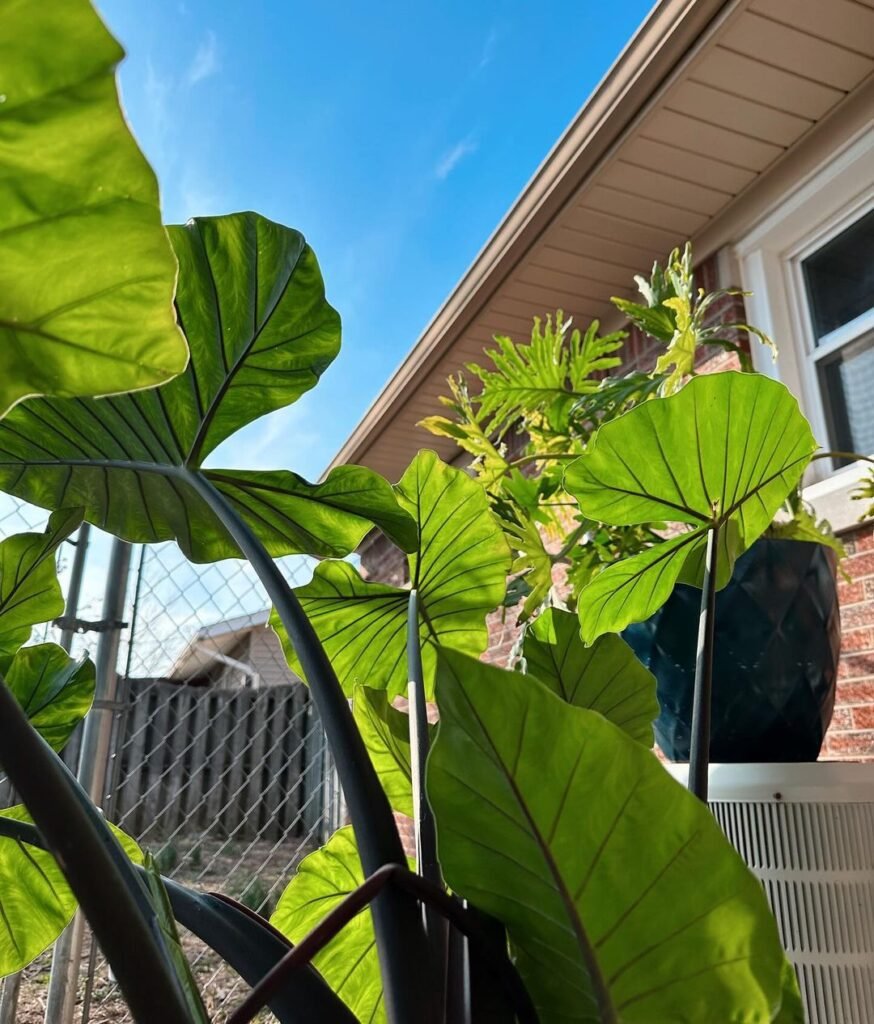
In the enchanting world of Alocasia Odora care, mastering the art of watering is essential for nurturing your plant’s health and vitality.
Consistency is key when it comes to watering your Alocasia Odora. While it thrives in moist conditions, it’s important to strike a balance and avoid overwatering, which can lead to root rot. Allow the top inch or so of the soil to dry out between waterings, then thoroughly saturate the soil until water begins to drain from the bottom of the pot.
When determining the frequency of watering, consider factors such as temperature, humidity, and seasonal variations. During the warmer months of spring and summer, your Alocasia Odora may require more frequent watering to keep up with its growth and transpiration. In contrast, you may need to scale back on watering during the cooler, dormant months of fall and winter.
To gauge when it’s time to water, simply insert your finger into the soil near the base of the plant. If the soil feels dry to the touch, it’s time to water. However, if it still feels moist, hold off on watering for another day or two.
Remember to water your Alocasia Odora with care, ensuring that water reaches the roots without drenching the foliage. Directing water onto the leaves can increase the risk of fungal diseases and foliar damage, so aim to water directly onto the soil surface instead.
Nourishing Your Alocasia Odora
Just as a gourmet meal nourishes the body, proper fertilization is the key to ensuring your Alocasia Odora thrives and flourishes.
In the wild, Alocasia Odora benefits from a nutrient-rich environment provided by decaying organic matter. To replicate these conditions in your home, fertilize your plant regularly during the growing season, typically from spring through summer.
Choose a balanced fertilizer formulated specifically for houseplants, diluted to half or quarter strength to avoid overfeeding. Apply the fertilizer monthly or as directed on the product label, ensuring that you distribute it evenly across the soil surface.
Care Tip: To prevent fertilizer buildup and potential salt accumulation in the soil, flush the pot occasionally by thoroughly watering until water flows freely from the drainage holes. This helps to leach out excess salts and keep the soil pH balanced.
Repotting and Soil Care

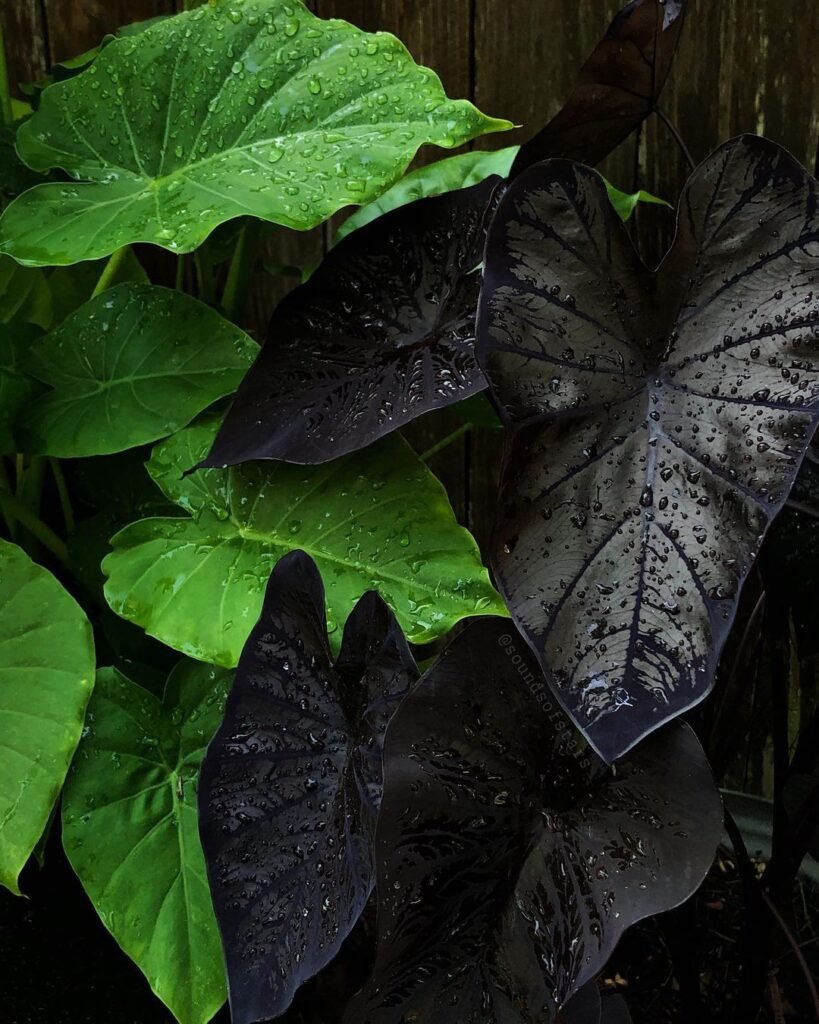

As your Alocasia Odora continues to grow and flourish, it’s important to provide it with ample space to spread its roots and thrive.
Repotting your Alocasia Odora is a crucial aspect of its care regimen, allowing it to access fresh nutrients and space for root development. As a general rule of thumb, consider repotting your plant every one to two years or when you notice its roots becoming pot-bound.
Select a pot that is slightly larger than its current container, ensuring it has adequate drainage holes to prevent waterlogging. When repotting, gently tease apart any compacted roots and place the plant in its new pot, filling in around it with well-draining soil.
Care Tip: To promote healthy root growth and prevent root rot, consider adding a layer of perlite or vermiculite to your potting mix to improve drainage.
In addition to repotting, soil care is also essential for maintaining the health and vitality of your Alocasia Odora. Use a rich, well-draining potting mix that retains moisture without becoming waterlogged. Avoid heavy soils that can lead to root suffocation and fungal diseases.
By providing your Alocasia Odora with a spacious new home and nutrient-rich soil, you’ll ensure it has the resources it needs to continue thriving and delighting with its majestic presence.
Combatting Common Pests and Diseases
In the battle for optimal health and vitality, even the mightiest of plants like the Alocasia Odora can encounter adversaries in the form of pests and diseases. But fear not, for armed with knowledge and vigilance, you can protect your botanical masterpiece from harm.
Pests such as spider mites, mealybugs, and aphids may occasionally set their sights on your Alocasia Odora, seeking to sap its strength and beauty. Keep a watchful eye on the undersides of leaves and along stems for signs of these unwelcome intruders. If detected, promptly remove them by gently wiping the affected areas with a damp cloth or using a gentle spray of water to dislodge them.
Care Tip: For stubborn pests, consider using natural remedies such as neem oil or insecticidal soap to deter and eliminate them without harming your plant or the environment.
In addition to pests, your Alocasia Odora may also fall prey to diseases such as root rot or leaf spot. These ailments can be caused by overwatering, poor drainage, or environmental stress. To prevent their onset, ensure your plant is situated in a well-ventilated area with proper air circulation, and avoid watering excessively.
Should your Alocasia Odora show signs of disease, act swiftly to address the issue. Trim away any affected foliage and adjust your watering routine to allow the soil to dry out more thoroughly between waterings. Consider repotting your plant with fresh soil if root rot is suspected, and avoid splashing water onto the leaves to prevent the spread of fungal diseases.
By remaining vigilant and proactive in combatting common pests and diseases, you’ll safeguard your Alocasia Odora’s health and ensure it continues to grace your home with its stunning presence.
Propagation Techniques
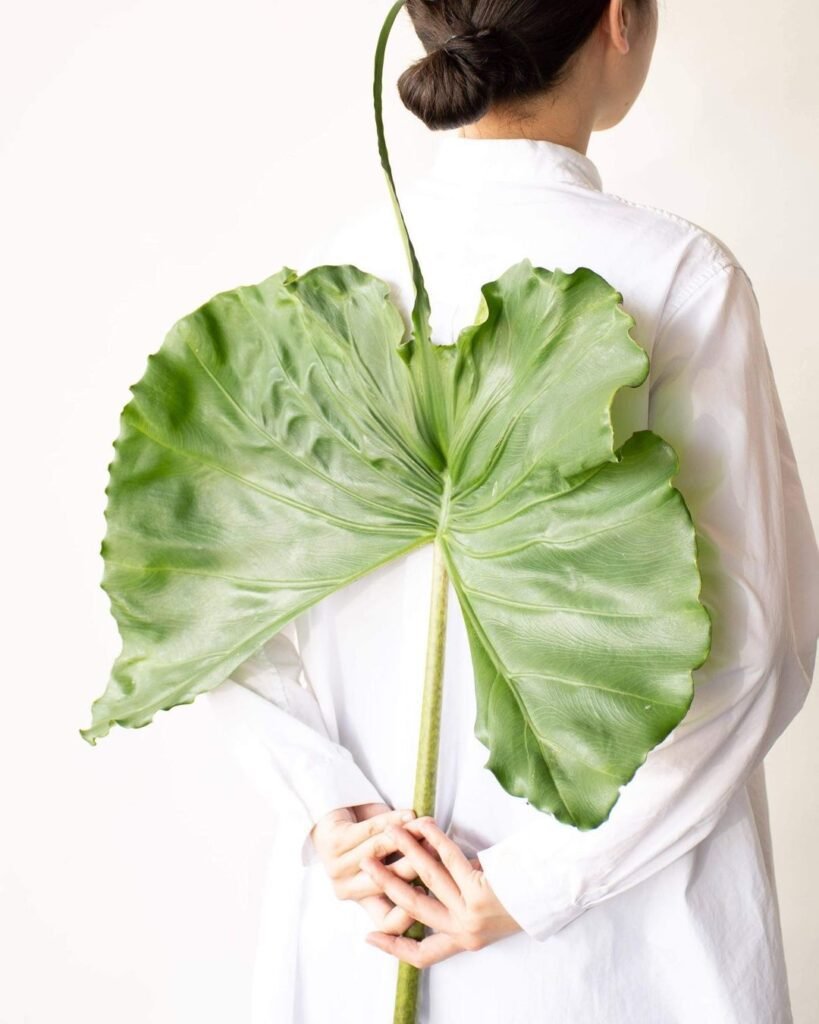
Embark on a journey of growth and expansion as we delve into the art of propagating the magnificent Alocasia Odora. Whether you’re seeking to multiply your plant collection or share the beauty of this botanical wonder with others, propagation offers an exciting opportunity to nurture new life.
One of the most common methods of propagating Alocasia Odora is through division. To divide your plant, carefully remove it from its pot and gently tease apart the rhizomes, ensuring each division has healthy roots and at least one growth point or shoot. Plant each division in its own pot filled with well-draining soil, and keep it warm and moist to encourage root growth.
Another propagation technique to consider is stem cuttings. Select a healthy stem with several leaves attached and use a sharp, sterilized knife or scissors to make a clean cut just below a leaf node. Remove any lower leaves to expose the node, then place the cutting in a jar of water or directly into moist potting soil. Keep the cutting in a warm, humid environment and wait for roots to develop before transplanting it into its own pot.
Care Tip: To increase the chances of success, consider using a rooting hormone when propagating Alocasia Odora stem cuttings to encourage faster root growth and establishment.
Enhancing Growth with Pruning and Maintenance
Just as a skilled sculptor shapes marble into a masterpiece, pruning and maintenance allow you to sculpt and refine the growth of your beloved Alocasia Odora. By employing these techniques with care and precision, you’ll ensure your plant remains a captivating focal point in your botanical sanctuary.
Pruning serves as a vital tool for maintaining the health and aesthetics of your Alocasia Odora. Remove any dead, damaged, or yellowing leaves as soon as they appear, using clean, sharp scissors or pruning shears to make precise cuts near the base of the leaf stem. This not only enhances the plant’s appearance but also encourages new growth by redirecting energy to healthy foliage.
In addition to removing unsightly foliage, occasional thinning may be necessary to prevent overcrowding and improve air circulation around the plant. Trim back any excess growth or overlapping leaves to maintain a balanced and harmonious appearance, allowing each leaf to receive ample light and airflow.
Maintenance goes hand in hand with pruning, encompassing a range of tasks designed to keep your Alocasia Odora in peak condition. Regularly inspect your plant for signs of pests, diseases, or environmental stress, intervening promptly to address any issues that arise.
Care Tip: To promote lush growth and vibrant foliage, consider fertilizing your Alocasia Odora during the growing season, following the guidelines outlined in the earlier section. This provides your plant with the essential nutrients it needs to thrive and flourish.
Unseen Beauty: Exploring Unique Varieties
As we draw near to the conclusion of our journey through the enchanting world of Alocasia Odora, let us pause to discover the unseen beauty waiting to be unveiled in the realm of unique varieties and cultivars.
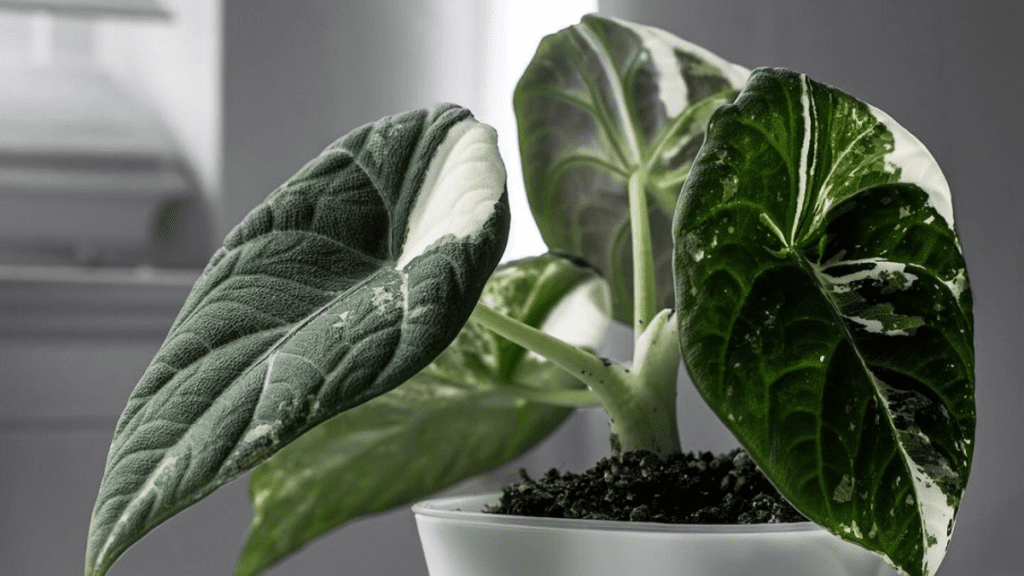
While the classic Alocasia Odora captivates with its stunning foliage and imposing presence, there exists a treasure trove of lesser-known varieties that promise to delight and inspire. From variegated leaves adorned with splashes of ivory and silver to compact forms ideal for smaller spaces, each variety offers its own distinctive charm and allure.
Venture into the realm of Alocasia Odora variegata, where leaves are adorned with elegant streaks of cream and green, adding a touch of contrast and drama to your botanical collection. Or embrace the compact elegance of Alocasia Odora ‘Silver Dragon’, a petite variety that packs a punch with its silver-flecked foliage and graceful form.
As you explore these unique varieties, consider the opportunities they present for personal expression and creative expression in your botanical sanctuary. Mix and match different varieties to create captivating compositions and textures, or showcase them individually as standout specimens that command attention and admiration.
Care Tip: When introducing new varieties to your collection, take the time to research their specific care requirements to ensure they receive the optimal conditions for growth and vitality.
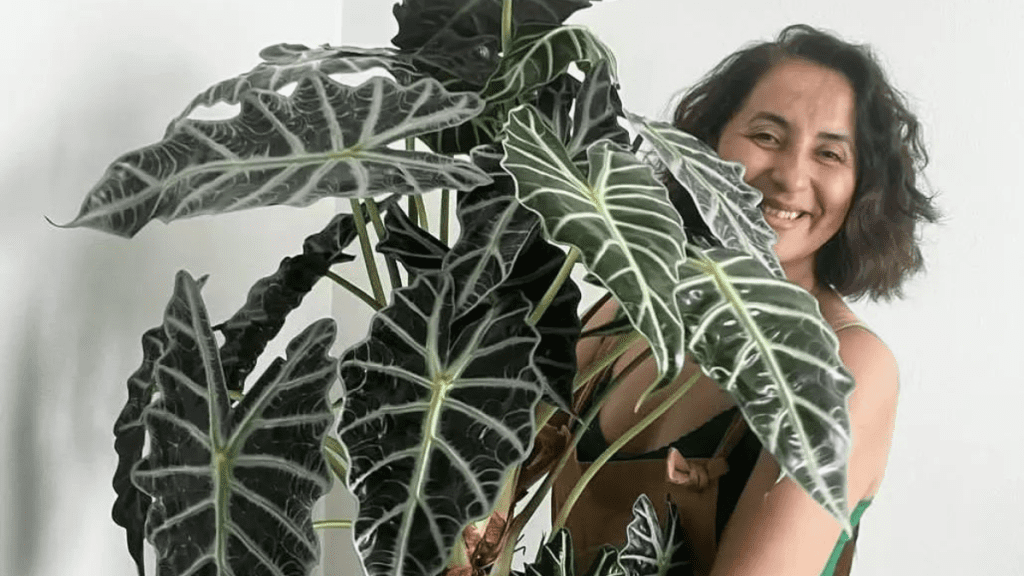
If you’re thinking of extending your alocasia family, I recommend reading up on alocasia wentii and alocasia polly. They would both make great additions to your squad!
Conclusion
As we reach the end of our journey through the captivating world of Alocasia Odora, let us reflect on the majesty and beauty we’ve encountered along the way.
From its stunning foliage and imposing stature to its unique varieties and cultivars, the Alocasia Odora truly stands as a botanical masterpiece worthy of admiration and appreciation. Through careful cultivation and nurturing, we’ve learned how to provide this majestic plant with the optimal conditions it needs to thrive and flourish.
As you embark on your own botanical adventures, may you carry with you the lessons and insights gained from our exploration. Whether you’re a seasoned plant enthusiast or a budding green thumb, may the beauty of the Alocasia Odora continue to inspire and delight you for years to come.
FAQs
Can Alocasia Odora tolerate low light conditions?
Alocasia Odora prefers bright, indirect light but can tolerate lower light conditions. However, prolonged exposure to low light may result in slower growth and reduced overall health. If placing it in a low light environment, ensure it still receives some indirect sunlight to thrive.
How often should I fertilize my Alocasia Odora?
During the growing season, typically from spring to early fall, fertilize your Alocasia Odora once a month with a balanced liquid fertilizer diluted to half strength. Reduce fertilization frequency or withhold fertilizer altogether during the dormant winter months when growth slows down.
Is Alocasia Odora toxic to pets?
Yes, Alocasia Odora is considered toxic to pets if ingested. It contains calcium oxalate crystals, which can cause irritation and discomfort if chewed or eaten. Keep your Alocasia Odora out of reach of pets or consider choosing pet-safe plants if you have animals in your home.
How do I increase humidity for my Alocasia Odora?
To increase humidity for your Alocasia Odora, you can mist the leaves regularly, place a tray filled with pebbles and water beneath the plant’s pot, or use a humidifier to maintain optimal humidity levels. Grouping plants together can also help create a microclimate with higher humidity.

Writer/Green Thumb/Explorer – Rooted deep in the rich soils of Devon, I’ve cultivated a vast expertise in plant care, helping greenery thrive in homes across the UK. When I’m not crafting detailed plant care guides, I’m journeying through the lush landscapes of the West Country, unearthing nature’s secrets and sharing them with fellow plant enthusiasts. Every leaf has a story, and I’m here to tell it.


