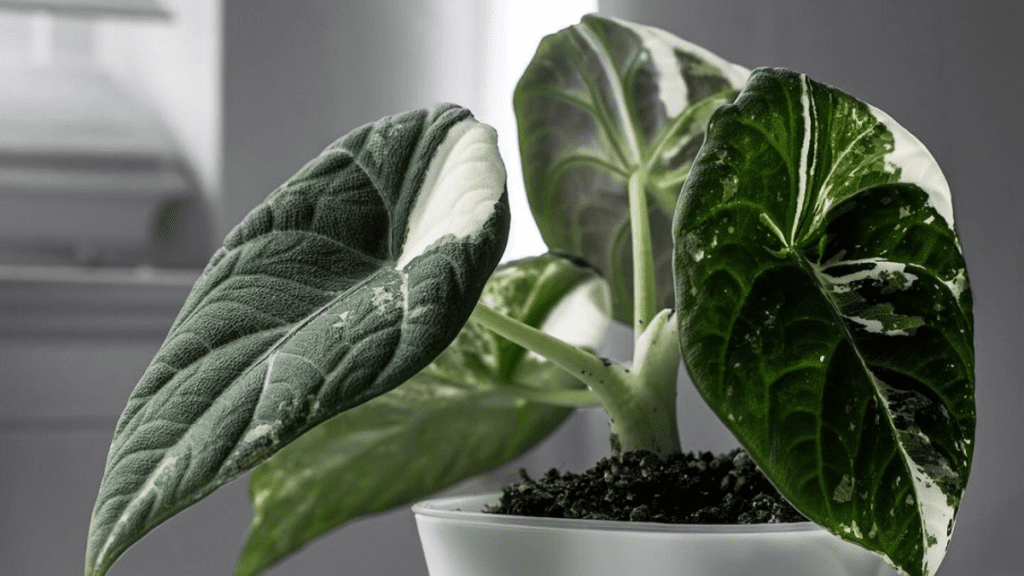
Greetings, fellow plant enthusiasts and proud plant parents! Today, let’s embark on a journey to explore the captivating world of Alocasia Cucullata, a plant that exudes an enigmatic charm like no other. With its stunning foliage and intriguing characteristics, this botanical wonder is sure to capture your heart and elevate your indoor garden to new heights.
The Alocasia Cucullata, also known as the Hooded Dwarf Elephant Ear, is a member of the Araceae family, hailing from the lush tropical regions of Southeast Asia. Its most distinctive feature is its elegantly shaped leaves, which resemble the hood of a cobra, hence its playful nickname.
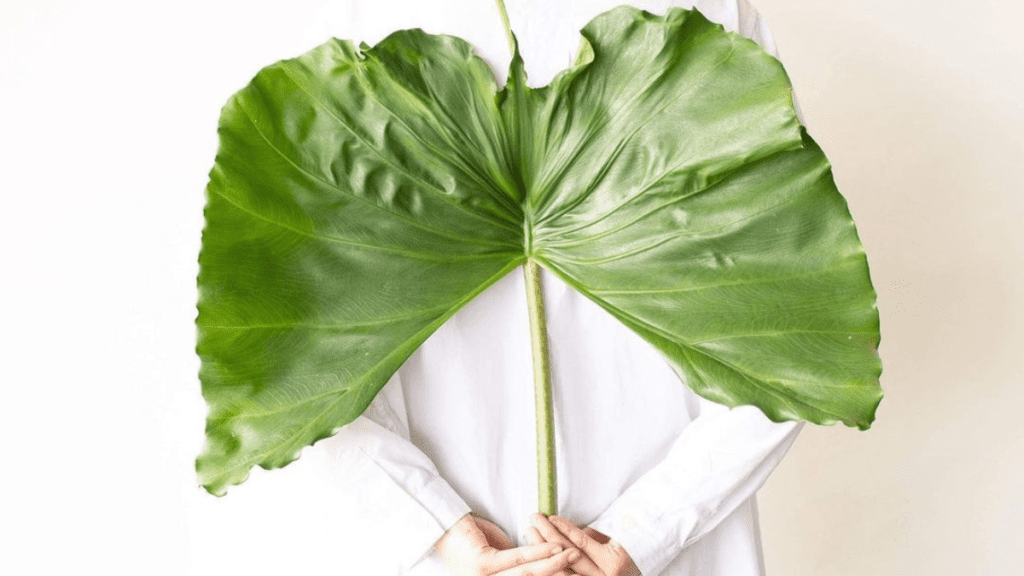
But here’s where it gets even more intriguing – did you know that the leaves of the Alocasia Cucullata can grow up to a whopping 12 inches in length? That’s right! These impressive leaves boast intricate veins and glossy surfaces, adding a touch of sophistication to any plant collection.
Getting to Know Alocasia Cucullata

One of the most fascinating aspects of the Alocasia Cucullata is its ability to undergo a process known as nyctinasty. This botanical phenomenon causes the plant’s leaves to open and close in response to changes in light and environmental conditions. Observing this natural behavior adds an element of wonder and intrigue to caring for the Alocasia Cucullata.
Despite its exotic appearance, the Alocasia Cucullata is surprisingly adaptable and can thrive in a variety of indoor settings. Whether placed in a well-lit corner or nestled among other houseplants, this resilient species adds a touch of tropical flair to any space it graces.
Providing the Perfect Environment
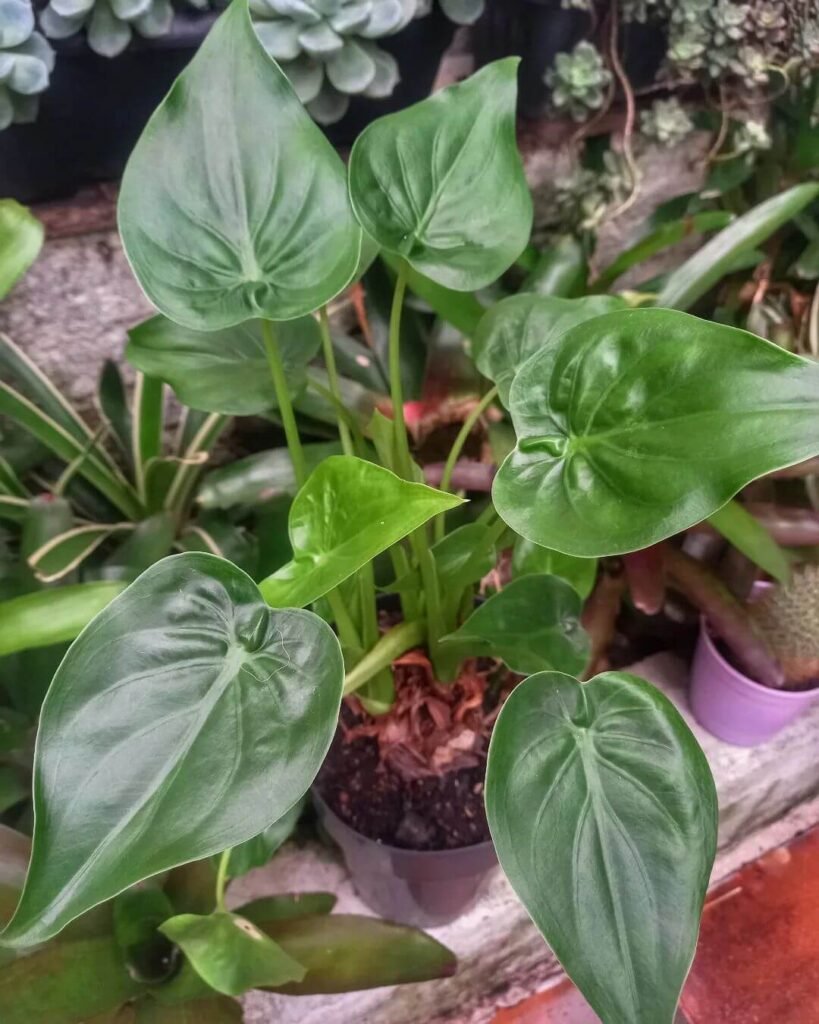
Creating an optimal environment is paramount for the well-being of your Alocasia Cucullata:
Light Requirements
Light serves as the lifeblood for your Alocasia Cucullata’s growth and vitality. While it revels in bright, indirect light, direct sunlight can spell trouble for its delicate leaves, causing them to scorch. Thus, it’s imperative to strike a balance. Aim to position your plant in a spot where it receives ample natural light, ideally near a north or east-facing window. Should natural light prove scarce, consider supplementing with artificial grow lights to ensure consistent brightness.
Care Tip: Regularly rotate your Alocasia Cucullata to encourage even exposure to light, promoting balanced growth and preventing it from leaning towards the light source.
Watering Needs
Navigating the delicate balance of moisture levels is crucial in ensuring the well-being of your Alocasia Cucullata. While it thrives in consistently moist soil, overwatering can swiftly lead to dire consequences such as root rot and other moisture-related issues. To gauge watering needs, simply assess the top inch of soil for dryness before proceeding. When it’s time to water, ensure thorough saturation, allowing any excess to drain freely from the pot’s drainage holes.
Soil Requirements
Selecting the proper soil mix lays the foundation for your Alocasia Cucullata’s success. Opt for a well-draining, peat-based soil mix augmented with perlite or sand to encourage healthy root development. Steer clear of heavy or compacted soils, as they can hinder drainage, leading to waterlogging and subsequent root suffocation.
Temperature and Humidity
Maintaining optimal temperature and humidity levels is pivotal for fostering the Alocasia Cucullata’s overall well-being. Thriving in warm, humid environments, this tropical beauty prefers temperatures ranging from 65°F to 80°F (18°C to 27°C). To elevate humidity levels, consider placing a tray filled with water and pebbles beneath your plant or employing the assistance of a room humidifier.
Feeding and Fertilizing
Regular feeding and fertilizing are indispensable for supporting the growth and vitality of your Alocasia Cucullata. Throughout the growing season, administer a balanced liquid fertilizer diluted to half strength every two to four weeks. However, exercise caution to avoid overfertilization, which can lead to fertilizer burn and disrupt nutrient balance, adversely impacting your plant’s health.
Propagation Techniques

Now that we’ve established how to care for your mature Alocasia Cucullata, let’s explore the fascinating world of propagation. Propagating your Alocasia Cucullata not only allows you to expand your plant collection but also offers a rewarding journey of nurturing new life.
Division
Division is one of the most common and straightforward methods of propagating Alocasia Cucullata. To begin, select a healthy, mature plant with multiple rhizomes or offshoots. Carefully remove the plant from its pot, ensuring to gently separate the rhizomes with a sharp, clean knife or scissors. Each divided section should ideally have its own set of roots and at least one healthy growth point. Once divided, replant each section into its own appropriately sized pot filled with well-draining soil. Keep the newly propagated plants in a warm, humid environment and maintain consistent moisture levels to encourage root establishment.
Care Tip: When dividing your Alocasia Cucullata, ensure that each section has enough root mass to support its growth. Avoid dividing during periods of stress, such as during extreme temperatures or drought, to minimize transplant shock and increase the chances of successful propagation.
Stem Cuttings
Another method of propagating Alocasia Cucullata is through stem cuttings. Begin by selecting a healthy stem with several nodes, preferably from a mature plant. Using a sharp, sterile knife or scissors, carefully cut the stem just below a node, ensuring to include at least one leaf. Remove any lower leaves to expose the nodes, which will encourage root development. Plant the cutting in a small pot filled with moist, well-draining soil, ensuring that the node is buried beneath the soil surface. Place the pot in a warm, humid location with bright, indirect light, and keep the soil consistently moist. With time and proper care, the cutting will develop roots and begin to grow into a new Alocasia Cucullata plant.
Addressing Common Issues and Troubleshooting

As plant parents, it’s essential to be vigilant and proactive in addressing any issues that may arise with your Alocasia Cucullata.
Yellowing Leaves
Yellowing leaves can be a cause for concern and may indicate various issues, including overwatering, underwatering, nutrient deficiencies, or pest infestations. To diagnose the root cause, carefully examine the affected leaves and consider recent changes in watering or environmental conditions. Adjust watering practices accordingly, ensuring to strike a balance between moisture levels. Additionally, consider fertilizing with a balanced liquid fertilizer to address any nutrient deficiencies. If pest infestations are suspected, inspect the plant thoroughly and treat with appropriate insecticides if necessary.
Care Tip: Regularly monitor your Alocasia Cucullata’s leaves for signs of yellowing or discoloration. Promptly address any issues to prevent further damage and promote overall plant health.
Pest Infestations
Pest infestations, such as mealybugs, spider mites, or scale insects, can wreak havoc on your Alocasia Cucullata if left unchecked. Symptoms may include distorted leaves, yellowing, or a sticky residue on the foliage. To combat pest infestations, begin by isolating the affected plant to prevent the spread of pests to other nearby plants. Next, gently wipe the leaves with a damp cloth to remove any visible pests or residue. For more severe infestations, consider using insecticidal soap or neem oil to eradicate pests effectively.
Root Rot
Root rot is a common issue among Alocasia Cucullata plants and is typically caused by overwatering or poorly draining soil. Symptoms include wilting, yellowing leaves, and a foul odor emanating from the soil. To address root rot, carefully remove the plant from its pot and inspect the roots for signs of rot. Trim away any affected roots using sterilized tools and repot the plant into fresh, well-draining soil. Adjust watering practices to prevent future occurrences of root rot, ensuring the soil is allowed to dry out slightly between waterings.
Exploring Alocasia Cucullata Varieties
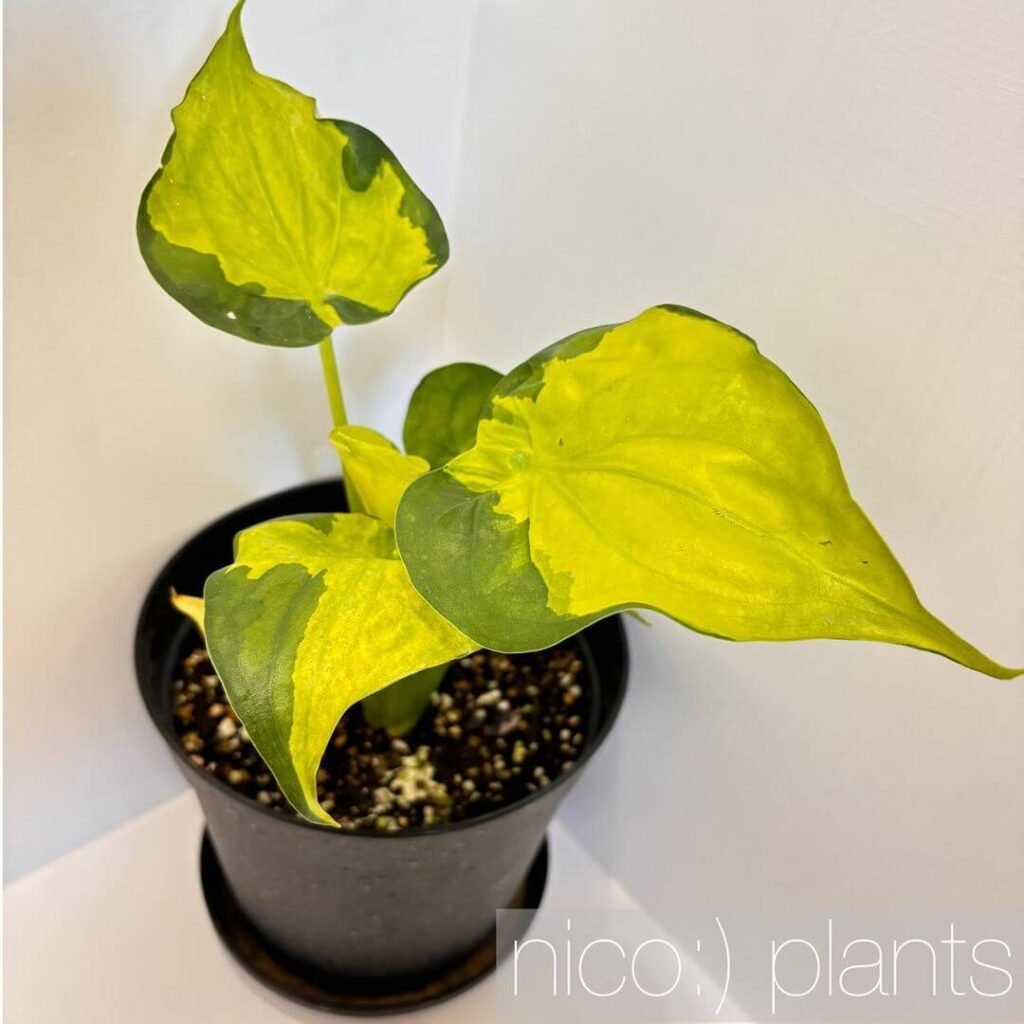
Dive into the fascinating world of Alocasia Cucullata varieties and discover the unique features and characteristics that set each cultivar apart. From striking leaf patterns to vibrant foliage colors, there’s a variety to suit every plant enthusiast’s taste.
Variegated Varieties
Variegated Alocasia Cucullata varieties boast leaves adorned with captivating patterns of contrasting colors, ranging from creamy whites to rich greens. These stunning specimens add a touch of elegance and sophistication to any indoor garden, serving as eye-catching focal points.
‘Polly’ Alocasia
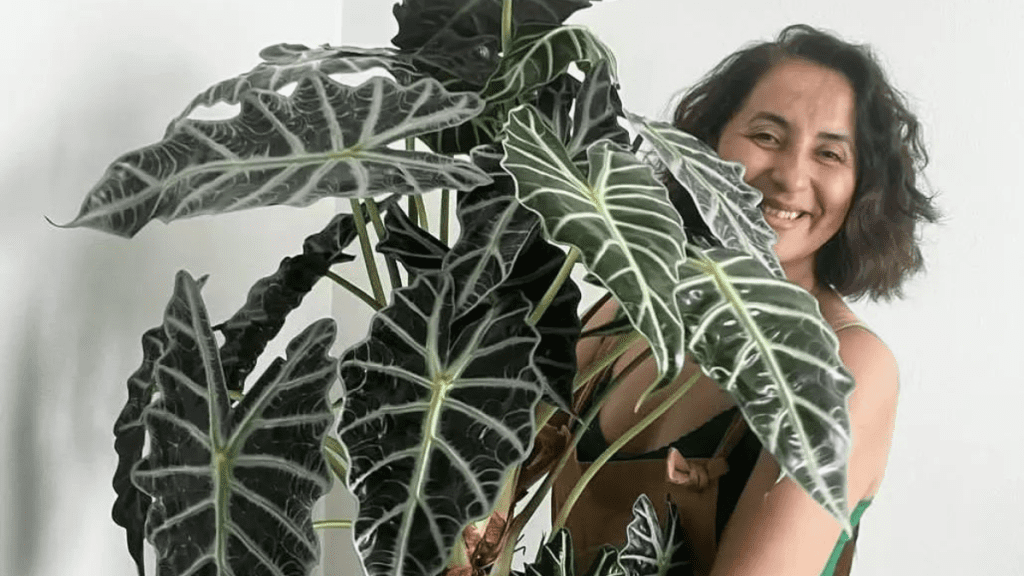
The ‘Polly’ Alocasia variety, also known as African Mask or Elephant Ear, features compact growth and distinctive arrow-shaped leaves with deep green hues and prominent veining. Its compact size makes it an ideal choice for smaller spaces or as a statement piece in a plant collection.
‘Green Shield’ Alocasia
The ‘Green Shield’ Alocasia variety showcases large, shield-shaped leaves with glossy green surfaces and contrasting purple undersides. Its robust growth habit and impressive foliage make it a popular choice for adding a tropical touch to any indoor setting.
‘Tiny Dancers’ Alocasia
The ‘Tiny Dancers’ Alocasia variety captivates with its petite size and delicate, elongated leaves resembling ballet dancers in motion. Despite its diminutive stature, this charming cultivar exudes elegance and grace, making it a favorite among plant enthusiasts seeking a touch of whimsy.
Care Tip: When selecting Alocasia Cucullata varieties, consider the unique growth habits and space requirements of each cultivar to ensure they thrive in their new environment. Pay attention to their specific care needs, including light, water, and humidity preferences, to promote healthy growth and longevity.
Tips for Display and Decor

Elevate the aesthetic appeal of your indoor space with strategic placement and thoughtful decor accents for your Alocasia Cucullata. Enhance the beauty of this botanical gem and create a visually stunning display that showcases its unique features.
Choosing the Right Container
Selecting the right container is essential for showcasing your Alocasia Cucullata while providing adequate space for root growth. Opt for a container with drainage holes to prevent waterlogged soil and root rot. Consider decorative pots or baskets that complement your interior decor style, adding a touch of personality to your plant display.
Placement Considerations
Strategic placement is key to ensuring your Alocasia Cucullata thrives in its new environment. Position your plant in a location with bright, indirect light to promote healthy growth and vibrant foliage. Avoid placing it near drafty windows or air vents, as sudden temperature fluctuations can stress the plant.
Decorative Accents
Enhance the visual appeal of your Alocasia Cucullata display with decorative accents such as decorative stones, moss, or pebbles. Create an eye-catching arrangement by layering different textures and colors around the base of the plant. Consider incorporating natural elements such as driftwood or seashells to add a touch of whimsy and character to your display.
Care Tip: Regularly inspect your Alocasia Cucullata’s container for any signs of moisture buildup or soil compaction. Ensure proper drainage and airflow to prevent waterlogged soil and root rot, which can compromise the plant’s health and vitality.
Companion Plants
Pair your Alocasia Cucullata with companion plants that complement its beauty and thrive in similar growing conditions. Consider tropical plants such as Calathea, Philodendron, or Bromeliads to create a lush and vibrant indoor garden. Pay attention to each plant’s light, water, and humidity requirements to ensure they coexist harmoniously.
Seasonal Decor
Embrace the changing seasons by incorporating seasonal decor elements into your Alocasia Cucullata display. Swap out decorative accents such as seasonal flowers, ornaments, or ribbons to reflect the time of year. Experiment with different color schemes and textures to create a dynamic and visually engaging display that evolves with the seasons.
If you’re thinking of extending your alocasia family, I recommend reading up on alocasia pink dragon and alocasia maharani (grey dragon). They would both make great additions to your squad!
Conclusion
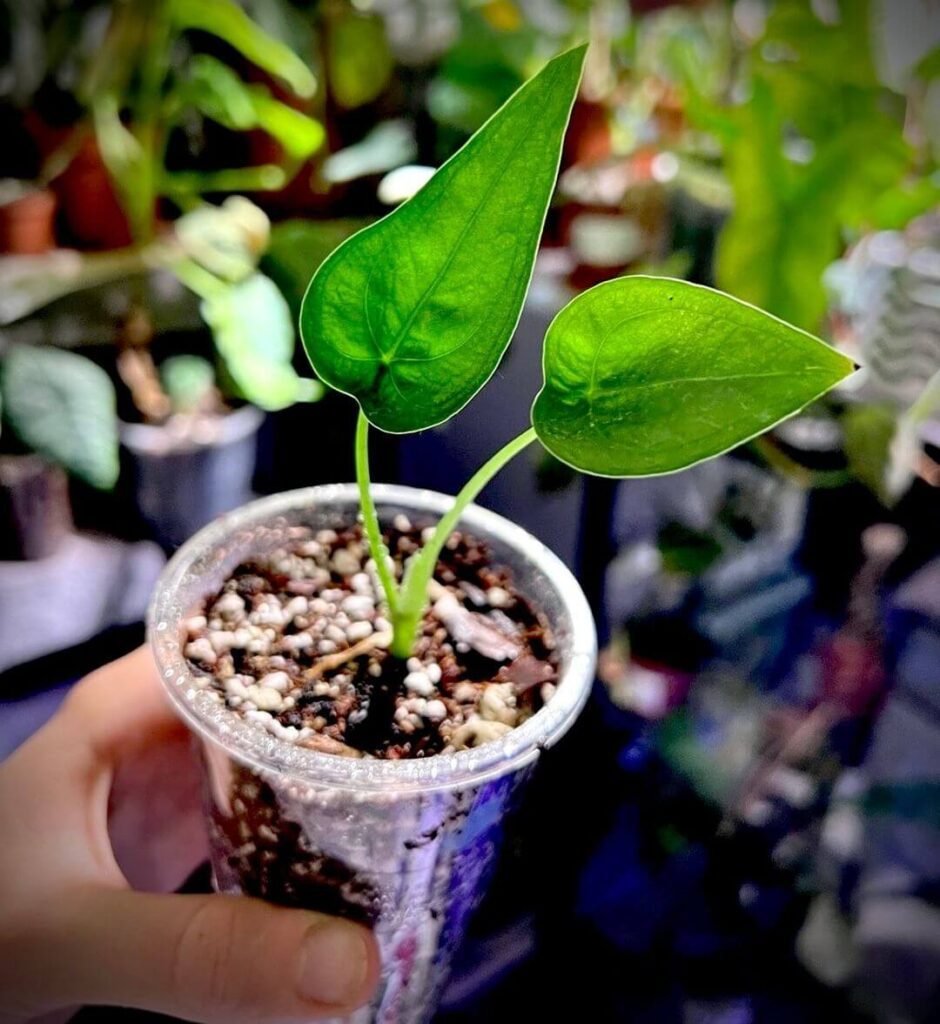
As we conclude our journey through the captivating world of Alocasia Cucullata, it’s evident that this botanical wonder holds a special place in the hearts of plant enthusiasts worldwide. From its striking foliage and unique characteristics to its resilience and adaptability, the Alocasia Cucullata truly stands out as a remarkable addition to any indoor garden.
Throughout this care guide, we’ve explored the essential aspects of caring for your Alocasia Cucullata, from lighting and watering to propagation and display tips. By providing a nurturing environment and attending to its specific needs, you can ensure the health and vitality of your beloved plant for years to come.
FAQ
Can I Keep My Alocasia Cucullata Outdoors?
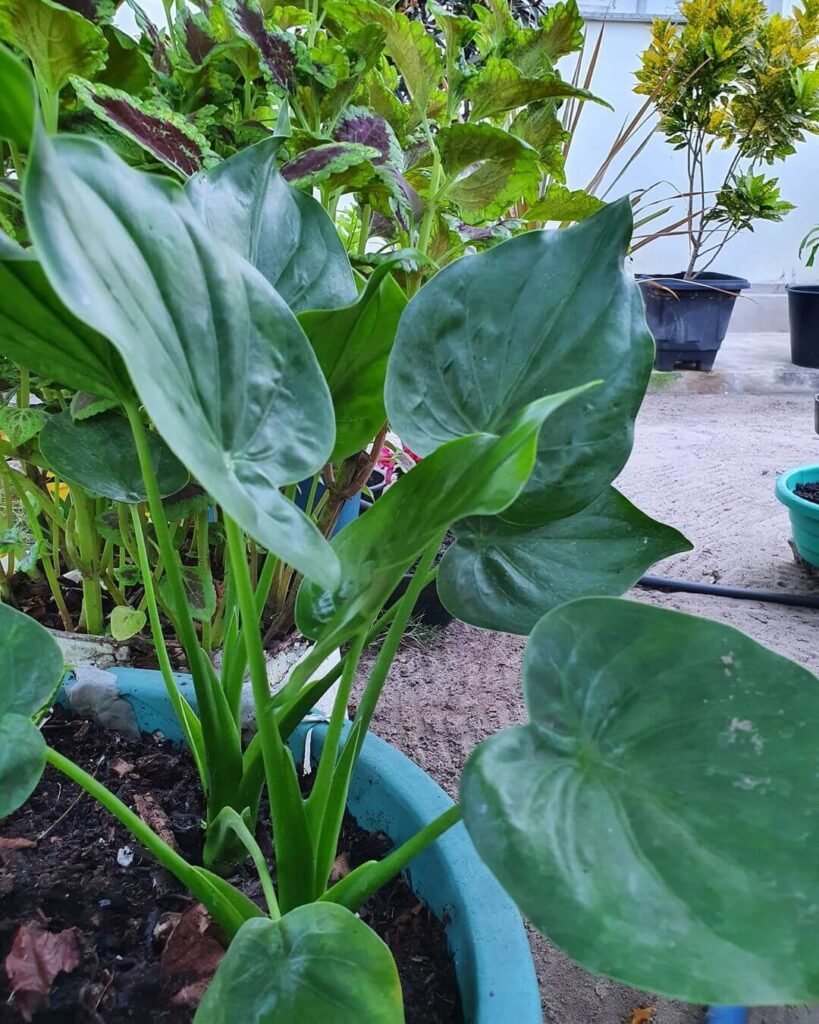
Yes, you can keep your Alocasia Cucullata outdoors during the warmer months, but it’s essential to provide it with the proper care and protection. Ensure it is placed in a shaded area with indirect sunlight to prevent leaf burn. Additionally, monitor soil moisture levels closely, as outdoor conditions may require more frequent watering to keep the plant adequately hydrated.
How Often Should I Repot My Alocasia Cucullata?
Generally, you should repot your Alocasia Cucullata every one to two years or when it outgrows its current container. Signs that it may be time to repot include roots emerging from the drainage holes, slowed growth, or overcrowded roots. When repotting, choose a container that is slightly larger than the current one and use fresh, well-draining soil to promote healthy root growth.
Why Are the Leaves of My Alocasia Cucullata Turning Brown?
Brown or crispy leaf edges on your Alocasia Cucullata may indicate that the plant is experiencing low humidity levels or inadequate watering practices. Increase humidity around the plant by misting regularly, using a humidifier, or placing a tray filled with water and pebbles nearby. Ensure the plant’s soil is consistently moist but not waterlogged, as overwatering can also lead to brown leaf edges.
How Do I Prune My Alocasia Cucullata?
Pruning your Alocasia Cucullata is primarily done to remove dead or damaged leaves, promote airflow, and maintain the plant’s overall health and appearance. Use sharp, clean scissors or pruning shears to snip away any brown or yellowing leaves, making sure to cut close to the base of the leaf stem. Avoid pruning healthy leaves unnecessarily, as this can stress the plant and inhibit growth.

Writer/Green Thumb/Explorer – Rooted deep in the rich soils of Devon, I’ve cultivated a vast expertise in plant care, helping greenery thrive in homes across the UK. When I’m not crafting detailed plant care guides, I’m journeying through the lush landscapes of the West Country, unearthing nature’s secrets and sharing them with fellow plant enthusiasts. Every leaf has a story, and I’m here to tell it.

